Instructions
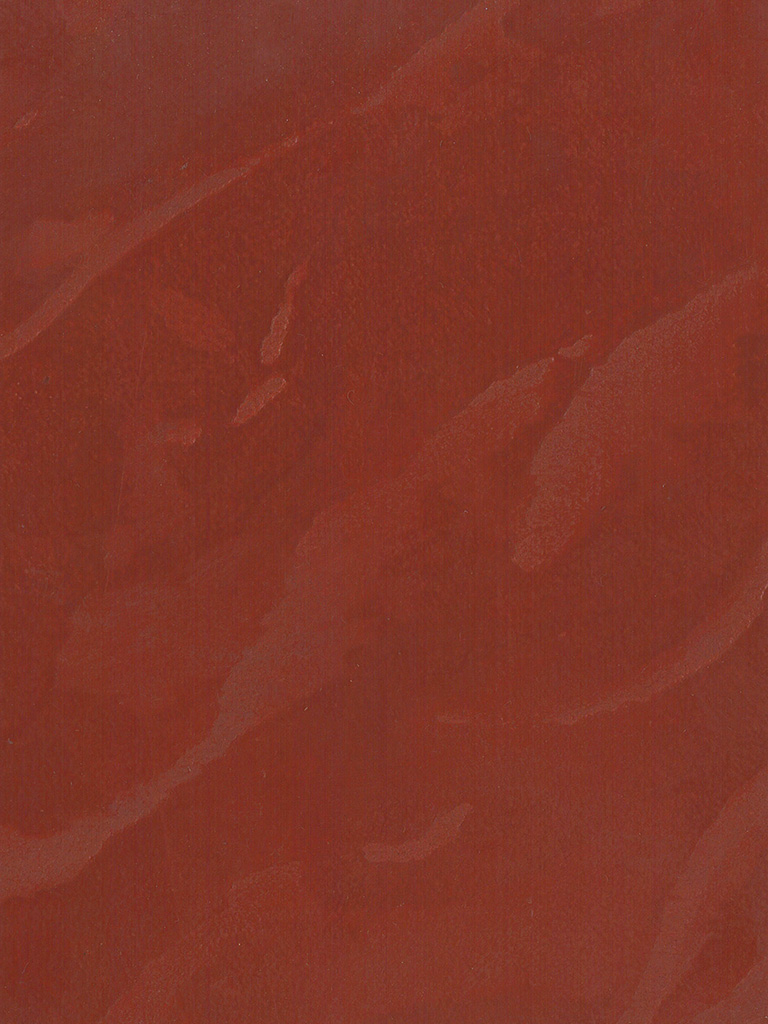
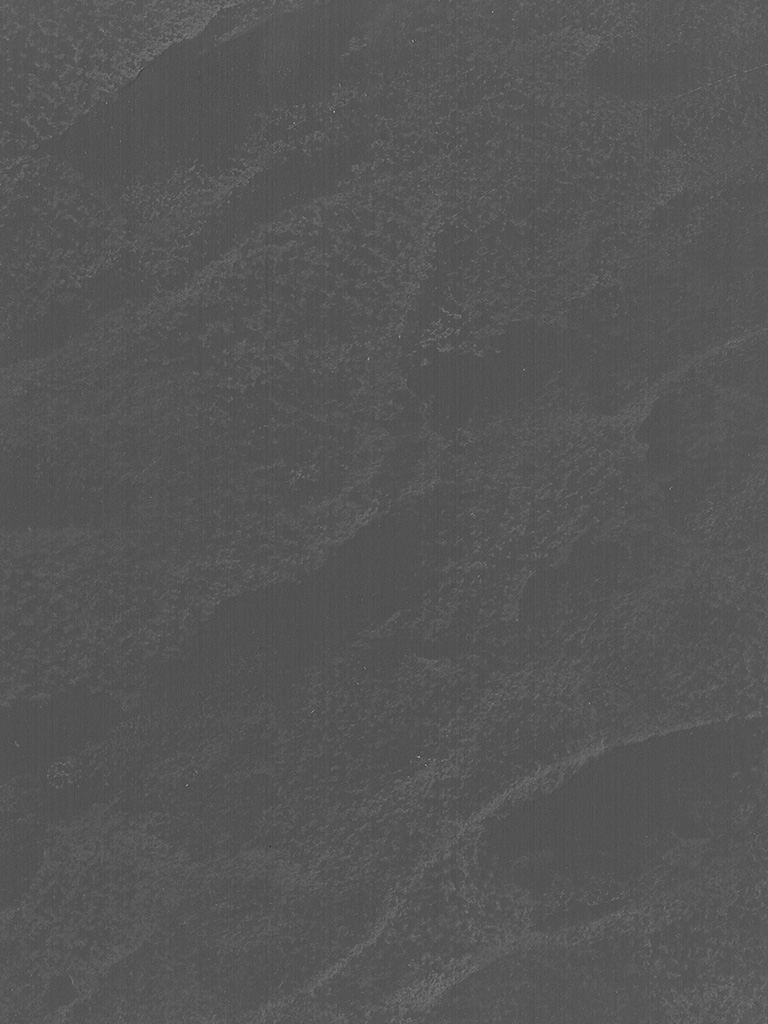
Slate look
Auro products
Recipe for shade "Black Slate"
1st order
- 10 l clay decorative plaster no. 311
- 5 l tinted wall paint, shade no. 99.6 (mixing ratio: 5 l wall paint no. 321 and 1.25 l tinting paint earth black no. 330-99)
2nd order
- 1 l tinted wall paint, shade no. 99.6 (mixing ratio: 5 l wall paint no. 321 and 1.25 l tinting paint earth black no. 330-99)
- 1 l tinting color earth black No. 330-99
- 1 l wallpaper paste no. 389 mixed with water (1:40)
Further materials
- Wall paint roller, Venetian trowel, 150 grit sandpaper
- Drill with stirring attachment, empty bucket, water
Step 1
1st application:
The mixture made from clay decorative plaster and full-tone and tinting paint is applied very thickly with a roller or smoothing trowel. First apply approx. 1-2 m² (consumption approx. 750-1000 ml per m²).
The mixture made from clay decorative plaster and full-tone and tinting paint is applied very thickly with a roller or smoothing trowel. First apply approx. 1-2 m² (consumption approx. 750-1000 ml per m²).
Step 2
Then "smooth" the surfaces with a Venetian trowel or a plastic spatula. The narrow side of the trowel is then used to draw slightly wavy, sometimes deliberately interrupted "lines" into the surface.
Step 3
Here you have to try a little and, if necessary, hold the trowel at a slight angle when pulling. As the material dries slowly, if you don't like the pattern you can smooth everything out again and start again.
Step 4
The tips and bulges of the "churned up" structure are then smoothed out again slightly with feeling to create the desired structure. Depending on your taste and the desired effect, you can smooth more or less strongly.
Step 5
The edges and bulges, which are still very noticeable when wet, will have shrunk and become much smaller after drying (approx. 24-48 hours). During intermediate sanding with approx. 150 grit sandpaper, excessively raised edges are slightly smoothed, but not sanded away.
Step 6
2nd application
The mixture of solid and tinting paint and wallpaper paste is rolled on thinly or spread with a spatula (consumption approx. 100 ml per m²). Do not apply more than approx. 1 m² at first.
The mixture of solid and tinting paint and wallpaper paste is rolled on thinly or spread with a spatula (consumption approx. 100 ml per m²). Do not apply more than approx. 1 m² at first.
Step 7
The applied paint is then quickly removed with a Venetian trowel or a plastic spatula in the direction of the pattern. Excess material must be removed. The darker shade of the 2nd coat remains in the recesses.
More info
The instructions for these and other creative wall design techniques can be found in this brochure.


